*We want to send you to the best products at the best prices online so we may make a commission if you use some of the links in this post; however, there is no additional cost to you. Thanks for your support!
You have a small team or you might be working solo, and you’re responsible for live streaming your church service, a conference, a concert or some other live event.
You probably have a small budget to work with and you don’t know where to start. You started off using a phone, a tablet or a small cheap camera to live stream and now you’re looking to upgrade to a higher quality system.
Here’s the good news – there’s an affordable way to get a high quality live streaming system!
Each year as more companies develop live streaming products, it creates more supply which causes all companies in the industry to lower their prices in order to compete.
What equipment is required for live streaming?
Least Expensive Live Streaming System
The simplest and cheapest way to go live is with your phone or a tablet. That’s because your phone or tablet has both a camera and an encoder inside of it. The same goes for any modern computer with a webcam, the computer itself can encode so you won’t need a separate device.
However, as you may know, using a phone, tablet or webcam has its disadvantages; like only ever being able to use one camera and having to rely on WIFI or mobile data.
Better Live Streaming System
One step up from a phone, tablet or webcam is having a handheld camera or a video camcorder. With this setup, you would need a computer to connect to the camera, and the computer would run live streaming software.
With this setup you have more options including being able to connect more than one camera, being able to connect multiple larger monitor screens, and having the flexibility of adding features to your live stream within the software on your computer.
Best Budget Live Streaming System
While, using a handheld camera is a better option than using your phone or a tablet, it is not the ideal setup.
You can get a professional looking, high quality live streaming system on a budget.
If you already have a modern fast computer, here are all the materials you will need for your system:
Budget Live Streaming System Materials List
PTZ Camera – SMTAV PTZ Broadcasting Camera

A PTZ is a robotic camera that can pan, move left to right, tilt, move up and down, and zoom, move in and out, all by remote control. This type of camera is perfect for small teams and individuals because it only takes one person to control all of your cameras from a distance.
The SMTAV IP PTZ cameras are recommended because they have excellent, bright picture quality that shows up well even in rooms with lower light levels. They have models with up to 30x optical zoom meaning you zoom the camera in very close to the speaker from 50 feet away or more.
You can control the camera with the included remote control or you can use the cameras web GUI application to control the camera over your local area network.
The ‘IP’ in IP Camera stands for internet protocol. These cameras plug into the network in your building and you will be able to see the video and control the camera by typing in the cameras assigned IP address in an internet browser.
Ethernet Cables – Cat6 Cables

To connect the IP PTZ camera to your network, you will need an Ethernet, or a network cable.
Not every Ethernet cable is made the same. When you see a cable with the label ‘Cat5’, the ‘Cat’ is short for category and the number is the version. Generally the higher the category number or letter, the more speed or bandwidth the cable can handle.
For example: Cat5e cable is faster than Cat5 cable and Cat6a cable is faster than Cat6.
A Cat5 Ethernet cable can get the job done but it’s recommended that you get Cat6 Ethernet cable to take advantage of faster network speeds and higher quality videos.
Capture Card – Elgato Cam Link 4K

On any modern laptop or desktop computer you will find HDMI video ports to connect other devices. Unfortunately, computers were never designed for you to plug cameras directly into them to record video. Therefore, you will need to use a capture device.
A capture card device turns your HDMI camera into a webcam in order for your computer to be able to capture the video.
The Elgato Cam Link 4K is an affordable capture card with similar quality to more expensive options. It takes your HDMI video signal and plugs into the USB port on your computer so the computer recognizes the it as a webcam.

In order to directly connect your camera to the computer you will need an HDMI cable. A regular HDMI cable has a maximum of 50 feet before it starts to loose signal with a high definition camera.
If you need a HDMI cable longer than 50 feet, it is best to convert the HDMI either to Ethernet or SDI which can both reliably go over 300 feet in length.
OBS – Open Broadcaster Software
The final item you need for a complete system is live streaming software. Open Broadcaster Software is an application that allows you to both record video and live stream to just about any destination like Facebook or YouTube.
OBS is recommended because it is already widely used by churches, organizations large and small, and individuals in many different industries.
OBS is powerful because it allows you to add multiple cameras, graphics, videos, microphones, music and more to your live streams to make them more high quality.
How much does a single camera live stream system cost?
With the recommended items in this list, in total, you can have a full, professional looking live streaming system for only around $1,000!
Technology moves fast. Talk with an expert to help you setup a higher quality live streaming, video and audio system.
Let’s set up a phone call or video meeting to discuss exactly what you need.
How to setup a live streaming system
Now that you know the materials you need, time to setup this budget live streaming system.
Step 1:
First, connect your PTZ camera to your local area network by running a Cat5e or Cat6 Ethernet cable from your camera to your internet router or modem.
Use another Ethernet cable to connect your computer to your router as well. This is important because although you can stream using WIFI, you’ll always get the strongest connection directly using the cable.
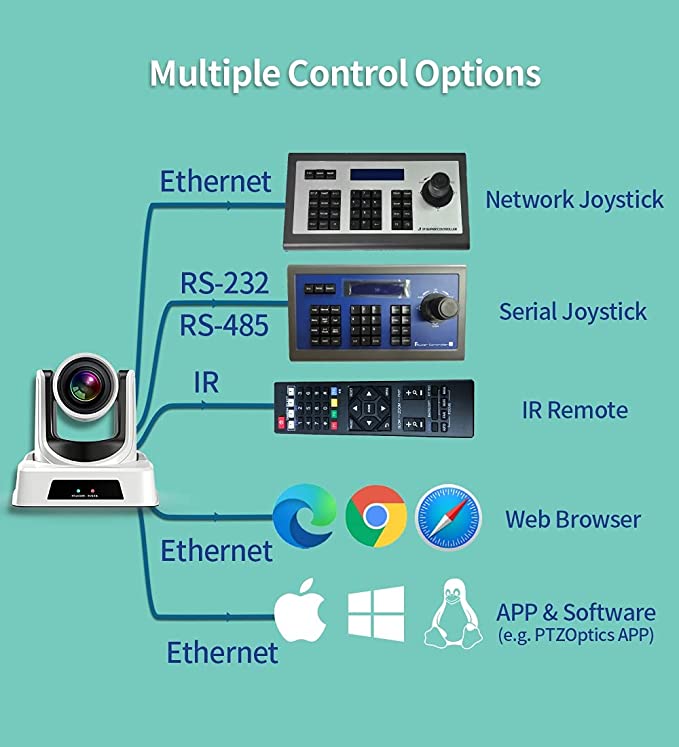
There are many different ways you can control this IP camera.
You can control the camera using:
- An ethernet cable connected to a IP joystick
- A serial (RS-232 or RS-485) cable connected to a non IP serial joystick
- The IR remote that comes included with the camera
- A web browser on a computer that is connected to the same network in your building
- An IP remote control app on your phone or compatible software on your computer
Step 2:
Connect your camera to the capture device with the HDMI cable, then plug the capture device into a USB port on your computer.


Step 3:
Next, to download Open Broadcaster Software, go to https://obsproject.com/. Choose your correct operating system – Windows, macOS, or Linux – then start the installation process.
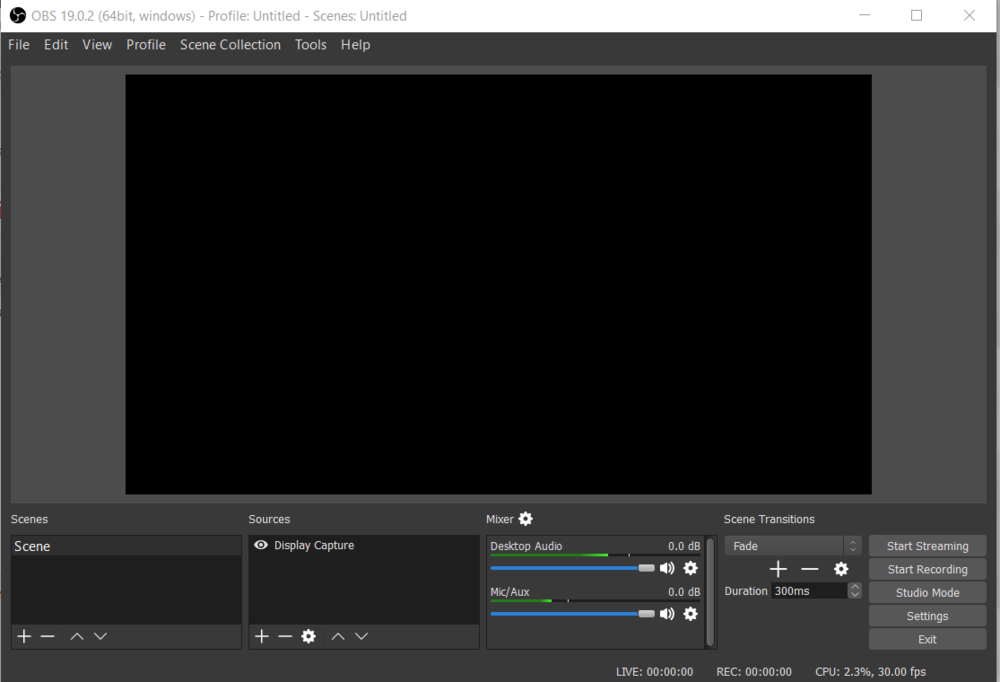
Once you have OBS installed, open the application.
In OBS, ‘Sources’ are individual inputs you can add to your stream like cameras, screen captures, text, images, audio and more. ‘Scenes’ allow you to group sources together so you can quickly switch to different looks during your broadcast.
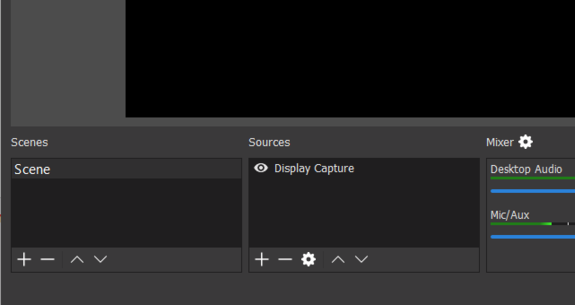
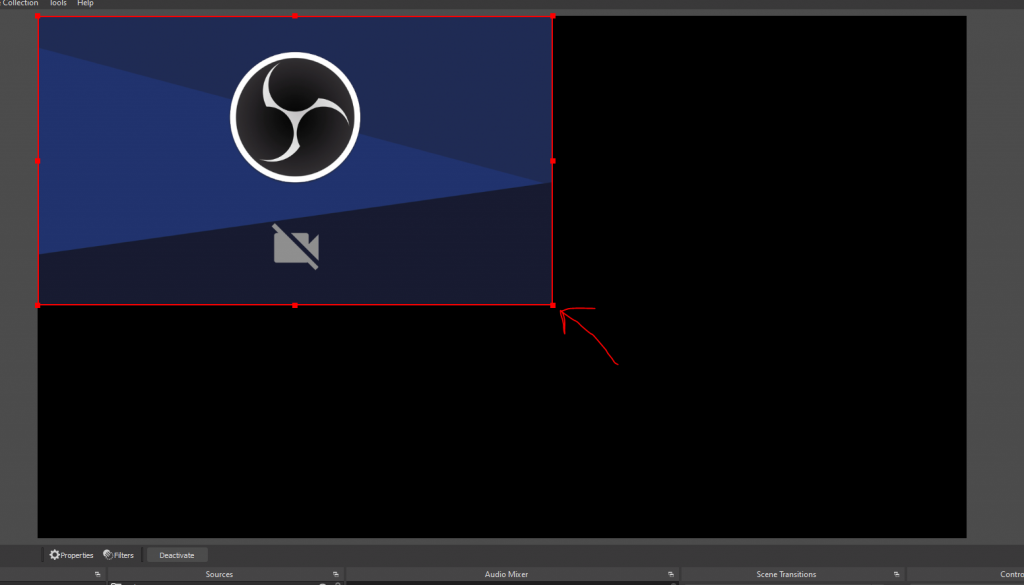
In OBS, under ‘Sources’, click on the plus icon to add a new source. In the list of sources, choose ‘Video Capture Device’. Under ‘Create New’, name your source “Camera” or anything you want, then press OK.

On the next screen, next to ‘Device’ choose the name of the capture card device plugged into your computer. Once you select the right device, you should see the camera’s video, then click OK.
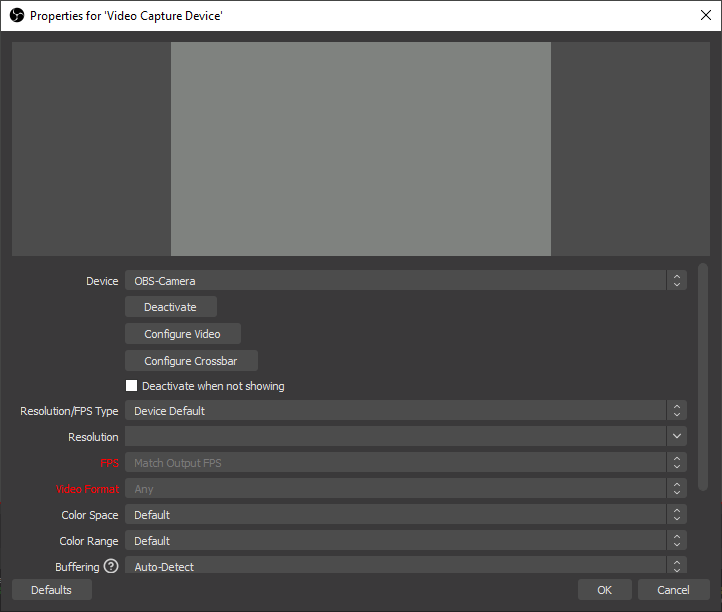
Make sure to resize the image if it doesn’t fill up the entire canvas.
If you want to use the microphone on your camera, in the ‘Audio Mixer’ settings, find the audio that has the name you chose for the source. You should see the audio levels (colors bar) bouncing back and forth. That lets you know the microphone is on and active.
If you want to use a separate microphone or audio source, under ‘Sources’ click on the plus icon and this time choose ‘Audio Input Capture’. Name your source “Microphone” or anything you want, then press OK.
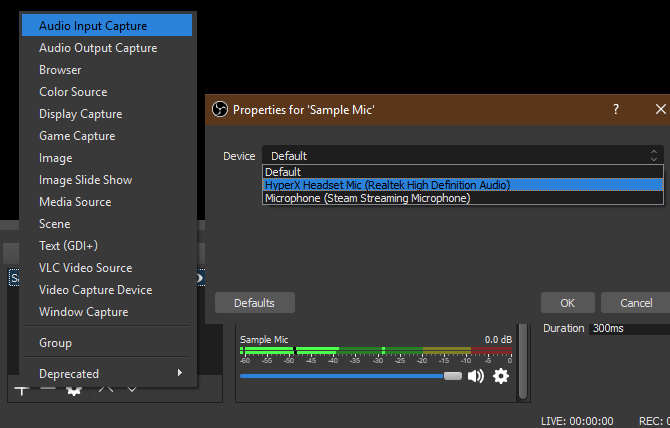
On the next screen next to ‘Device’, choose the correct audio device you want to add, then click OK. You should now see the new audio device in the ‘Audio Mixer’ and the audio levels should be bouncing back and forth.
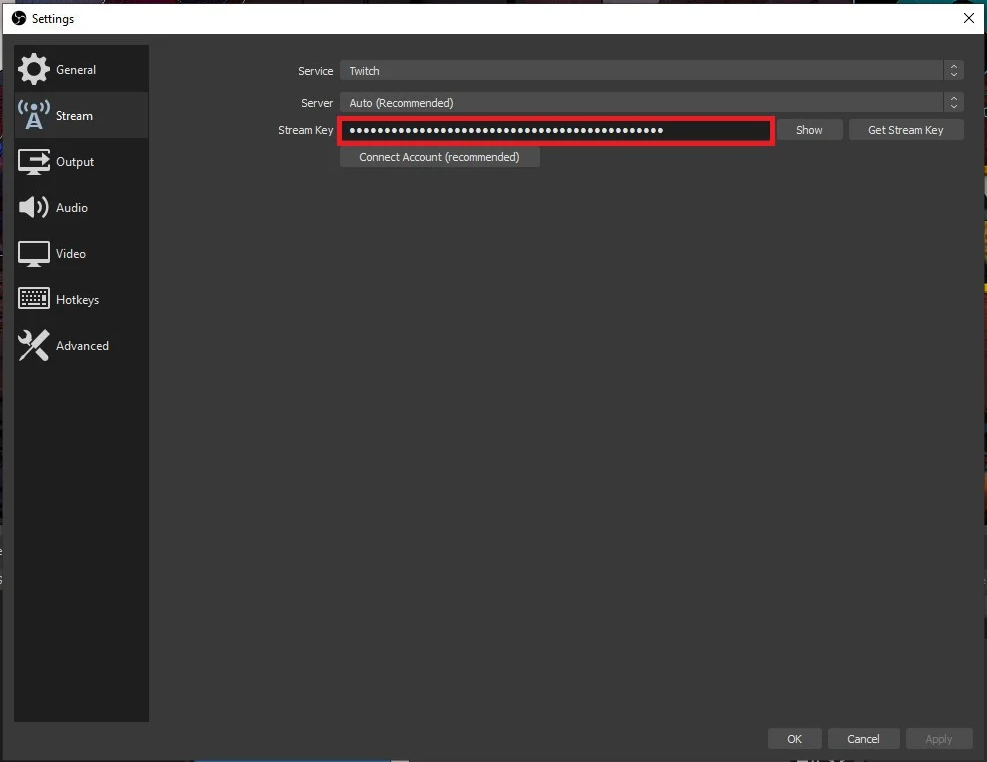
Once you’ve added your video and audio, under ‘Controls’, click on ‘Settings’. In the list on the left panel, click on ‘Stream’. Here is where you choose your streaming service (i.e. Facebook Live, YouTube, etc.).

You must go to your streaming service website to get your ‘Stream Key’, a secret key unique to your account. For Facebook or YouTube click the ‘Get Stream Key’ button to go directly to your account. If you choose another service, you may be able to directly connect your account through OBS.
Once you have your streaming account setup, press OK to close out of the settings.
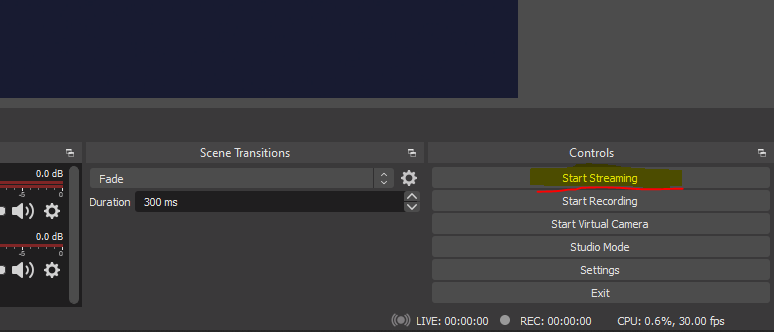
Finally, under ‘Controls’, click on ‘Start Streaming’ to start your live stream!